安装 ASP.NET 核心和 TypeScript
🌐 Install ASP.NET Core and TypeScript
首先,如果需要,请安装 ASP.NET Core。本快速入门指南需要使用 Visual Studio 2015 或 2017。
🌐 First, install ASP.NET Core if you need it. This quick-start guide requires Visual Studio 2015 or 2017.
接下来,如果你的 Visual Studio 版本尚未安装最新的 TypeScript,你可以安装它。
🌐 Next, if your version of Visual Studio does not already have the latest TypeScript, you can install it.
创建一个新项目
🌐 Create a new project
- 选择 文件
- 选择 新建项目 (Ctrl + Shift + N)
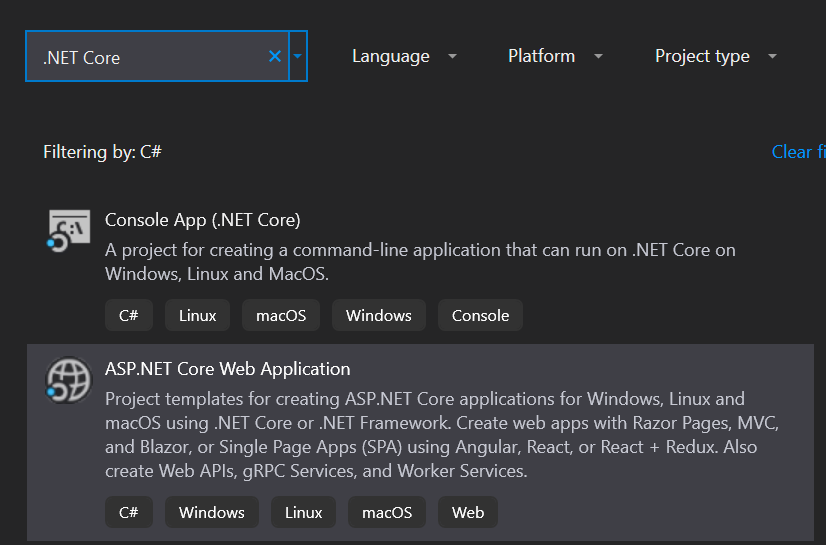
- 在项目搜索栏中搜索 .NET Core
- 选择 ASP.NET Core Web 应用 并点击 下一步 按钮
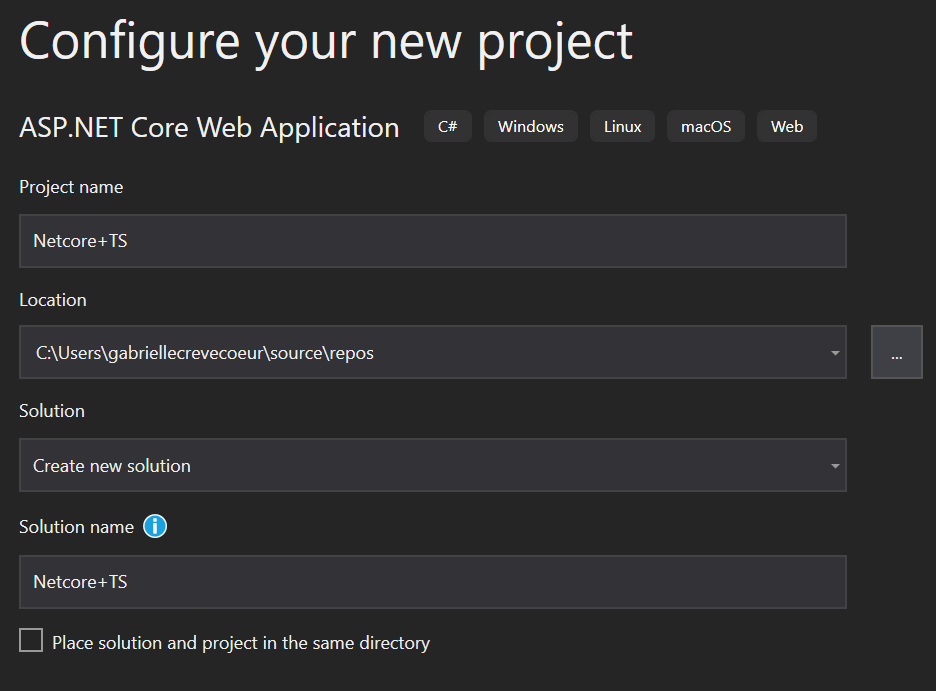
- 为你的项目和解决方案命名。然后选择 创建 按钮
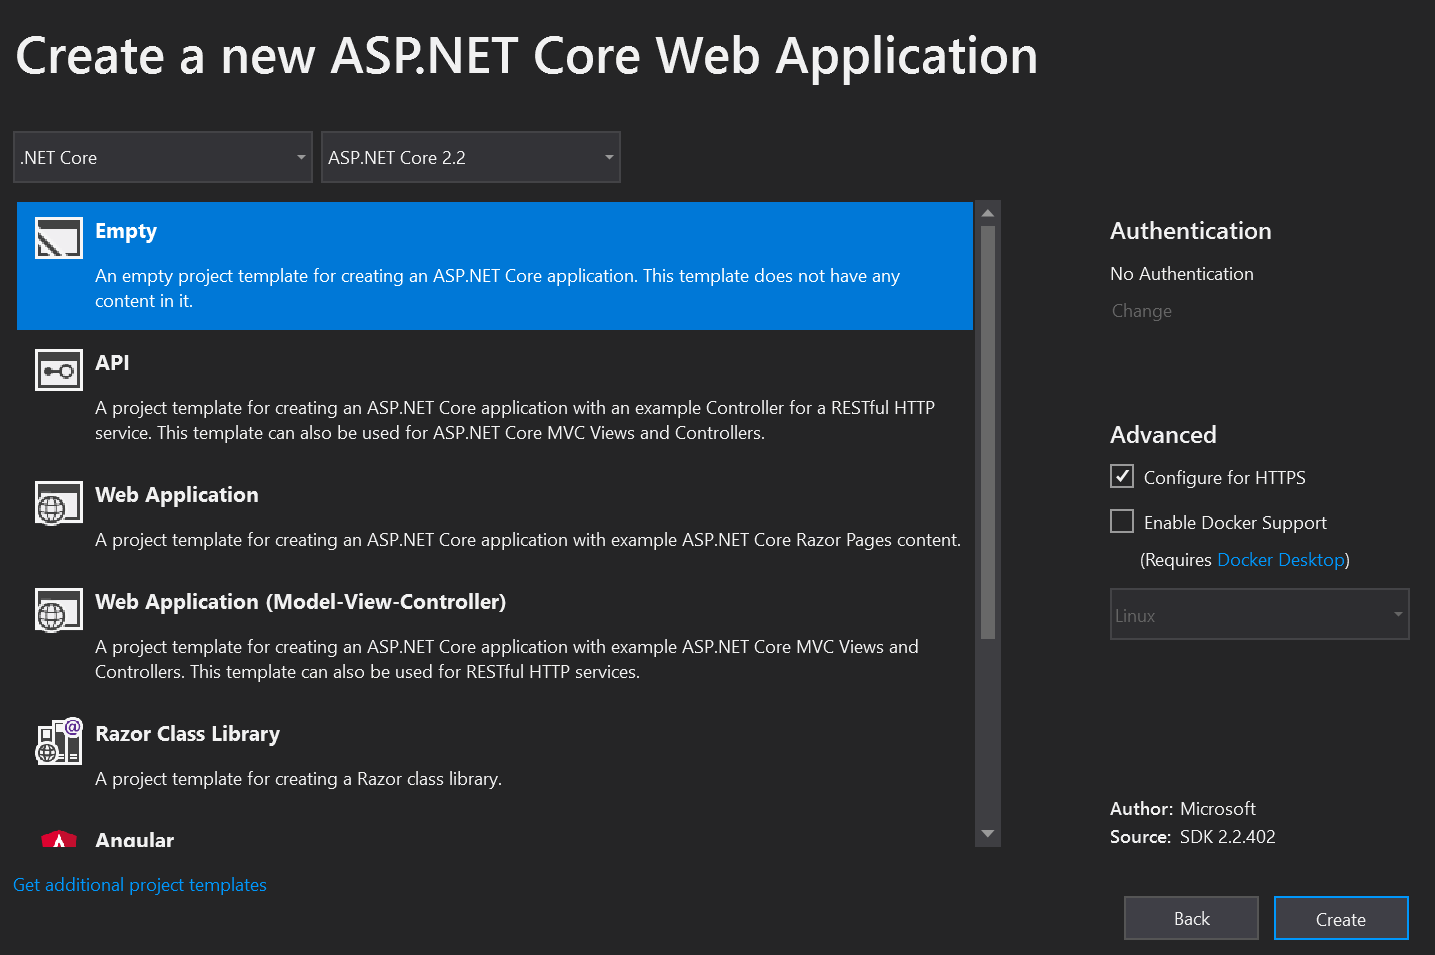
- 在最后一个窗口中,选择 空 模板并点击 创建 按钮
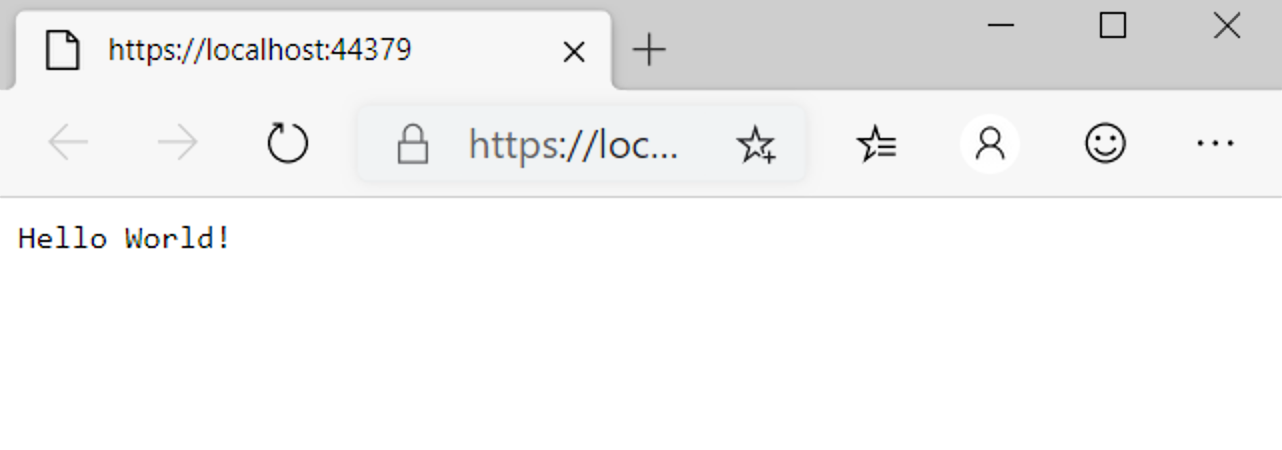
运行应用并确保其正常工作。
🌐 Run the application and make sure that it works.
设置服务器
🌐 Set up the server
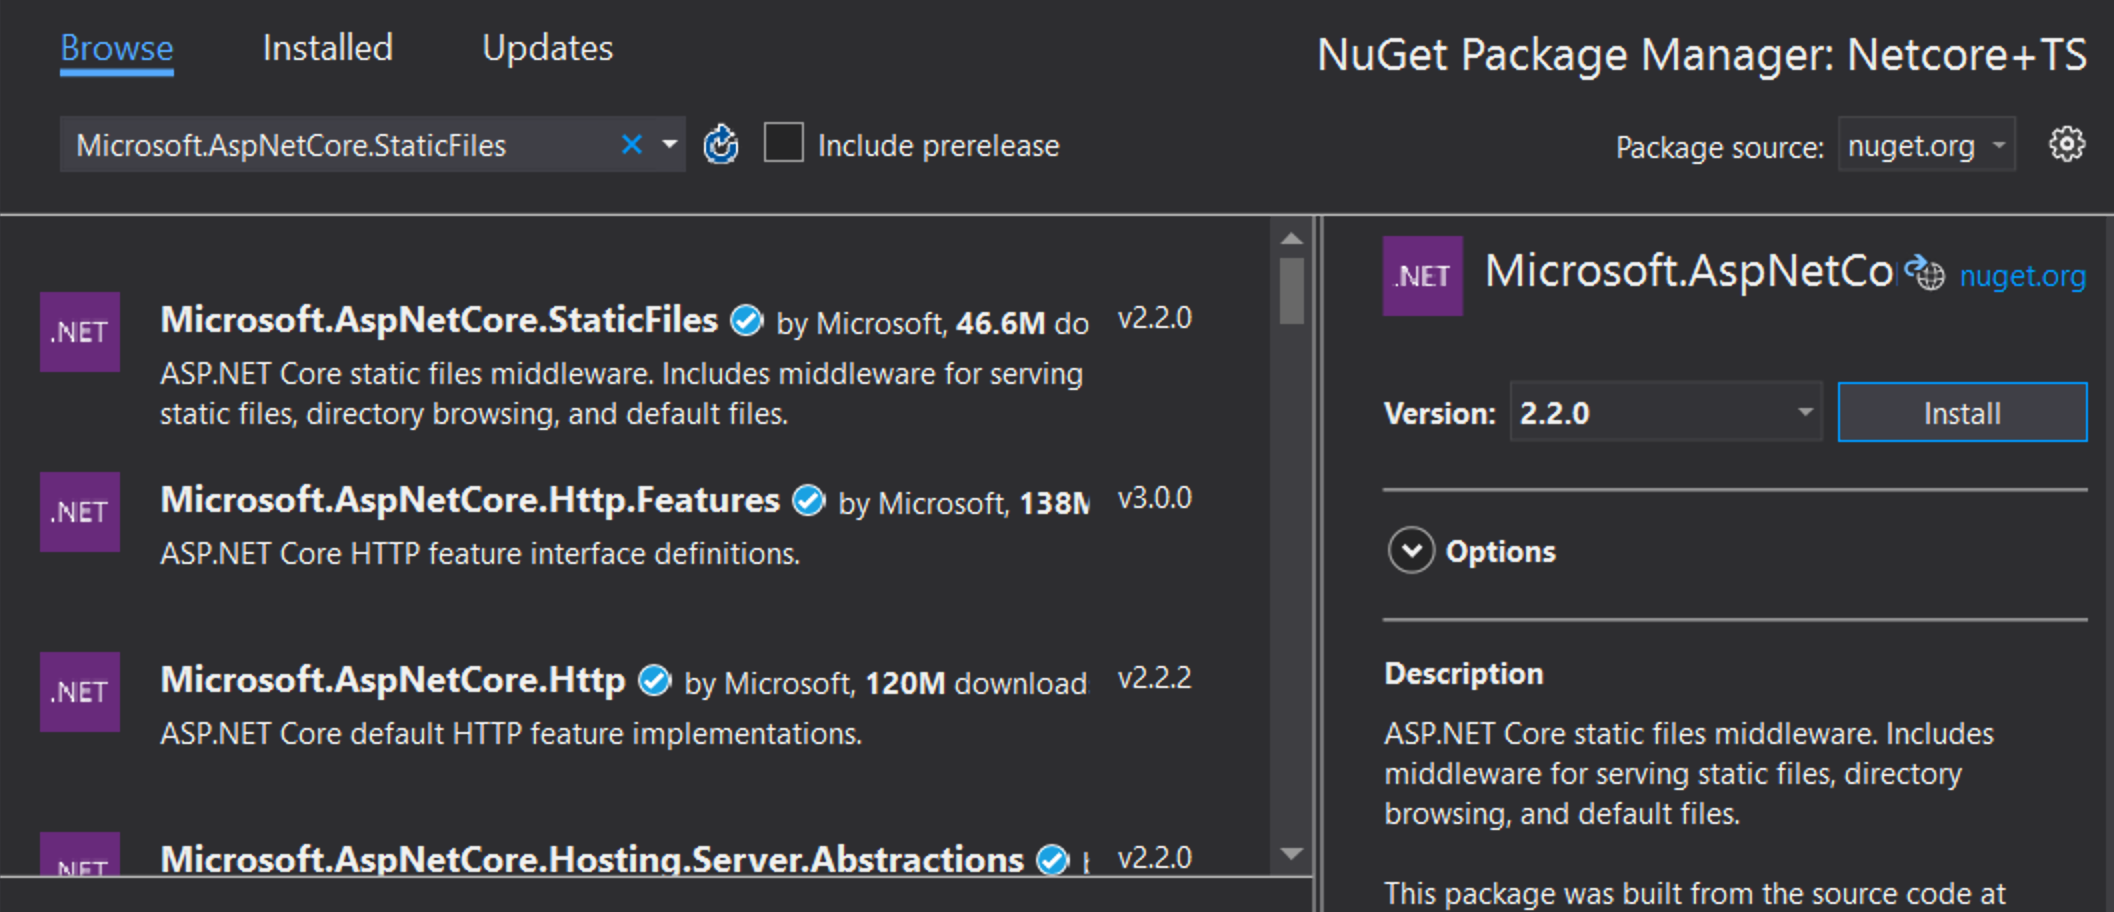
打开 依赖 > 管理 NuGet 包 > 浏览。 搜索并安装 Microsoft.AspNetCore.StaticFiles 和 Microsoft.TypeScript.MSBuild:
🌐 Open Dependencies > Manage NuGet Packages > Browse. Search and install Microsoft.AspNetCore.StaticFiles and Microsoft.TypeScript.MSBuild:
打开你的 Startup.cs 文件,并将你的 Configure 函数修改为如下所示:
🌐 Open up your Startup.cs file and edit your Configure function to look like this:
public void Configure(IApplicationBuilder app, IHostEnvironment env)
{
    if (env.IsDevelopment())
    {
        app.UseDeveloperExceptionPage();
    }

    app.UseDefaultFiles();
    app.UseStaticFiles();
}
你可能需要重启 VS,以使 UseDefaultFiles 和 UseStaticFiles 下方的红色波浪线消失。
🌐 You may need to restart VS for the red squiggly lines below UseDefaultFiles and UseStaticFiles to disappear.
添加 TypeScript
🌐 Add TypeScript
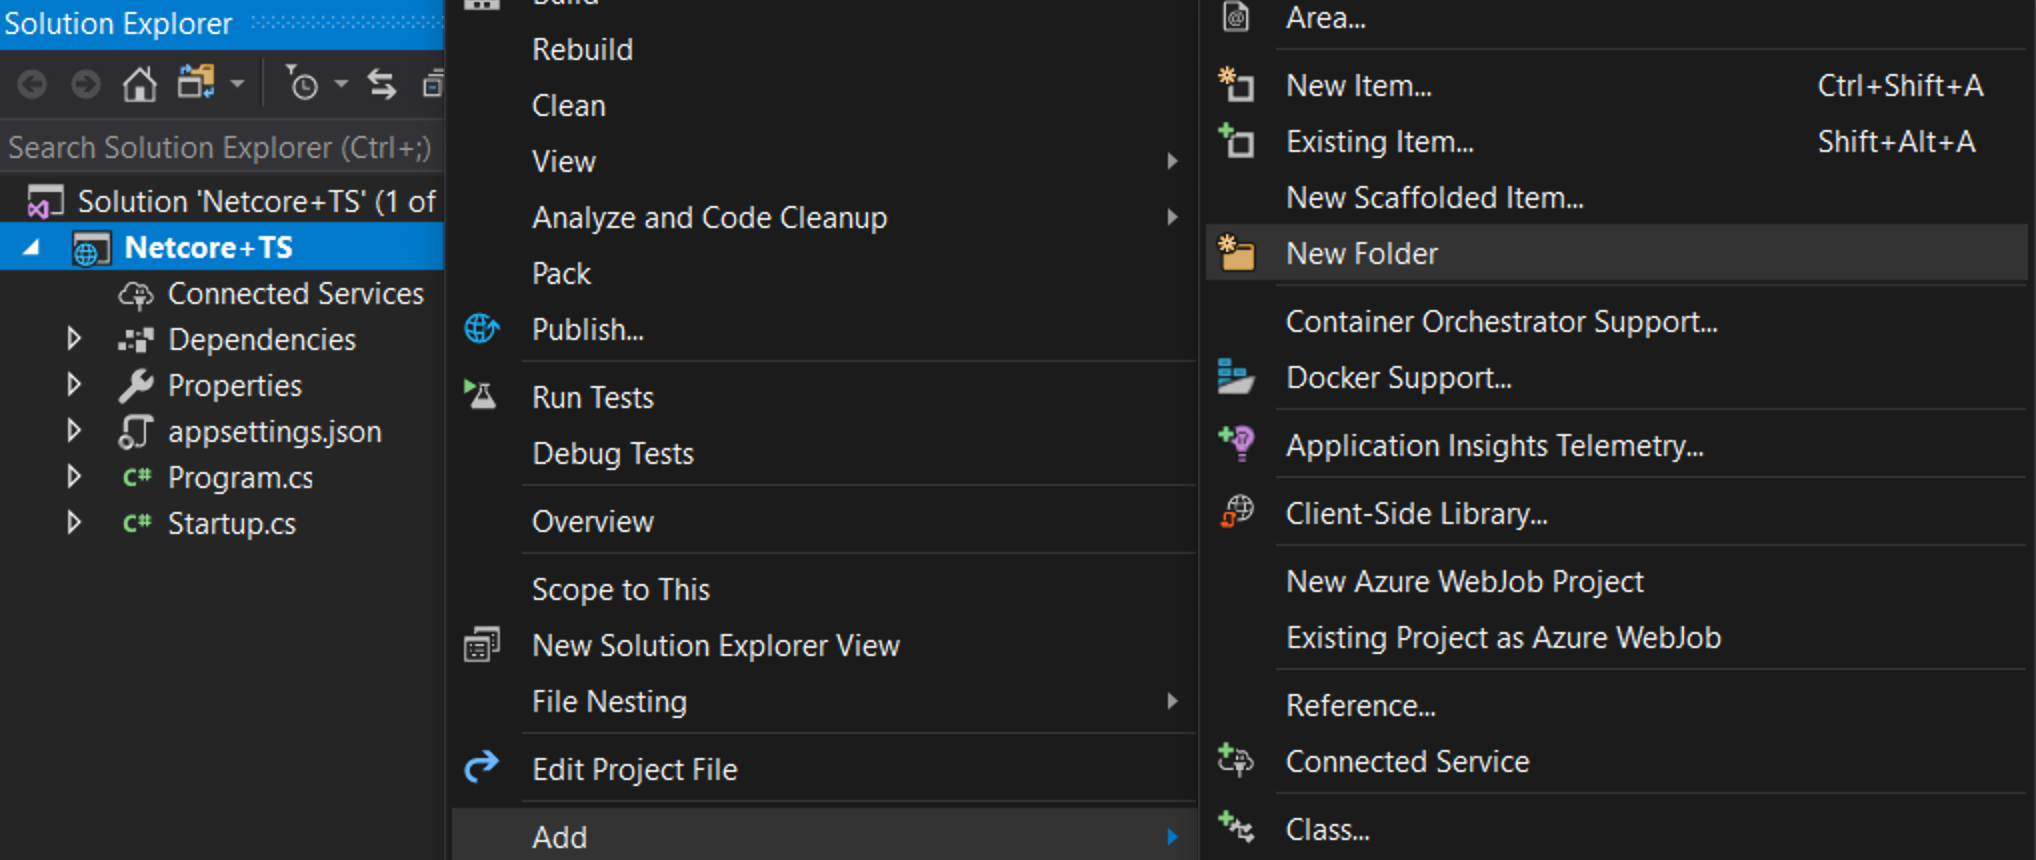
接下来我们将添加一个新文件夹,并将其命名为 scripts。
🌐 Next we will add a new folder and call it scripts.

添加 TypeScript 代码
🌐 Add TypeScript code
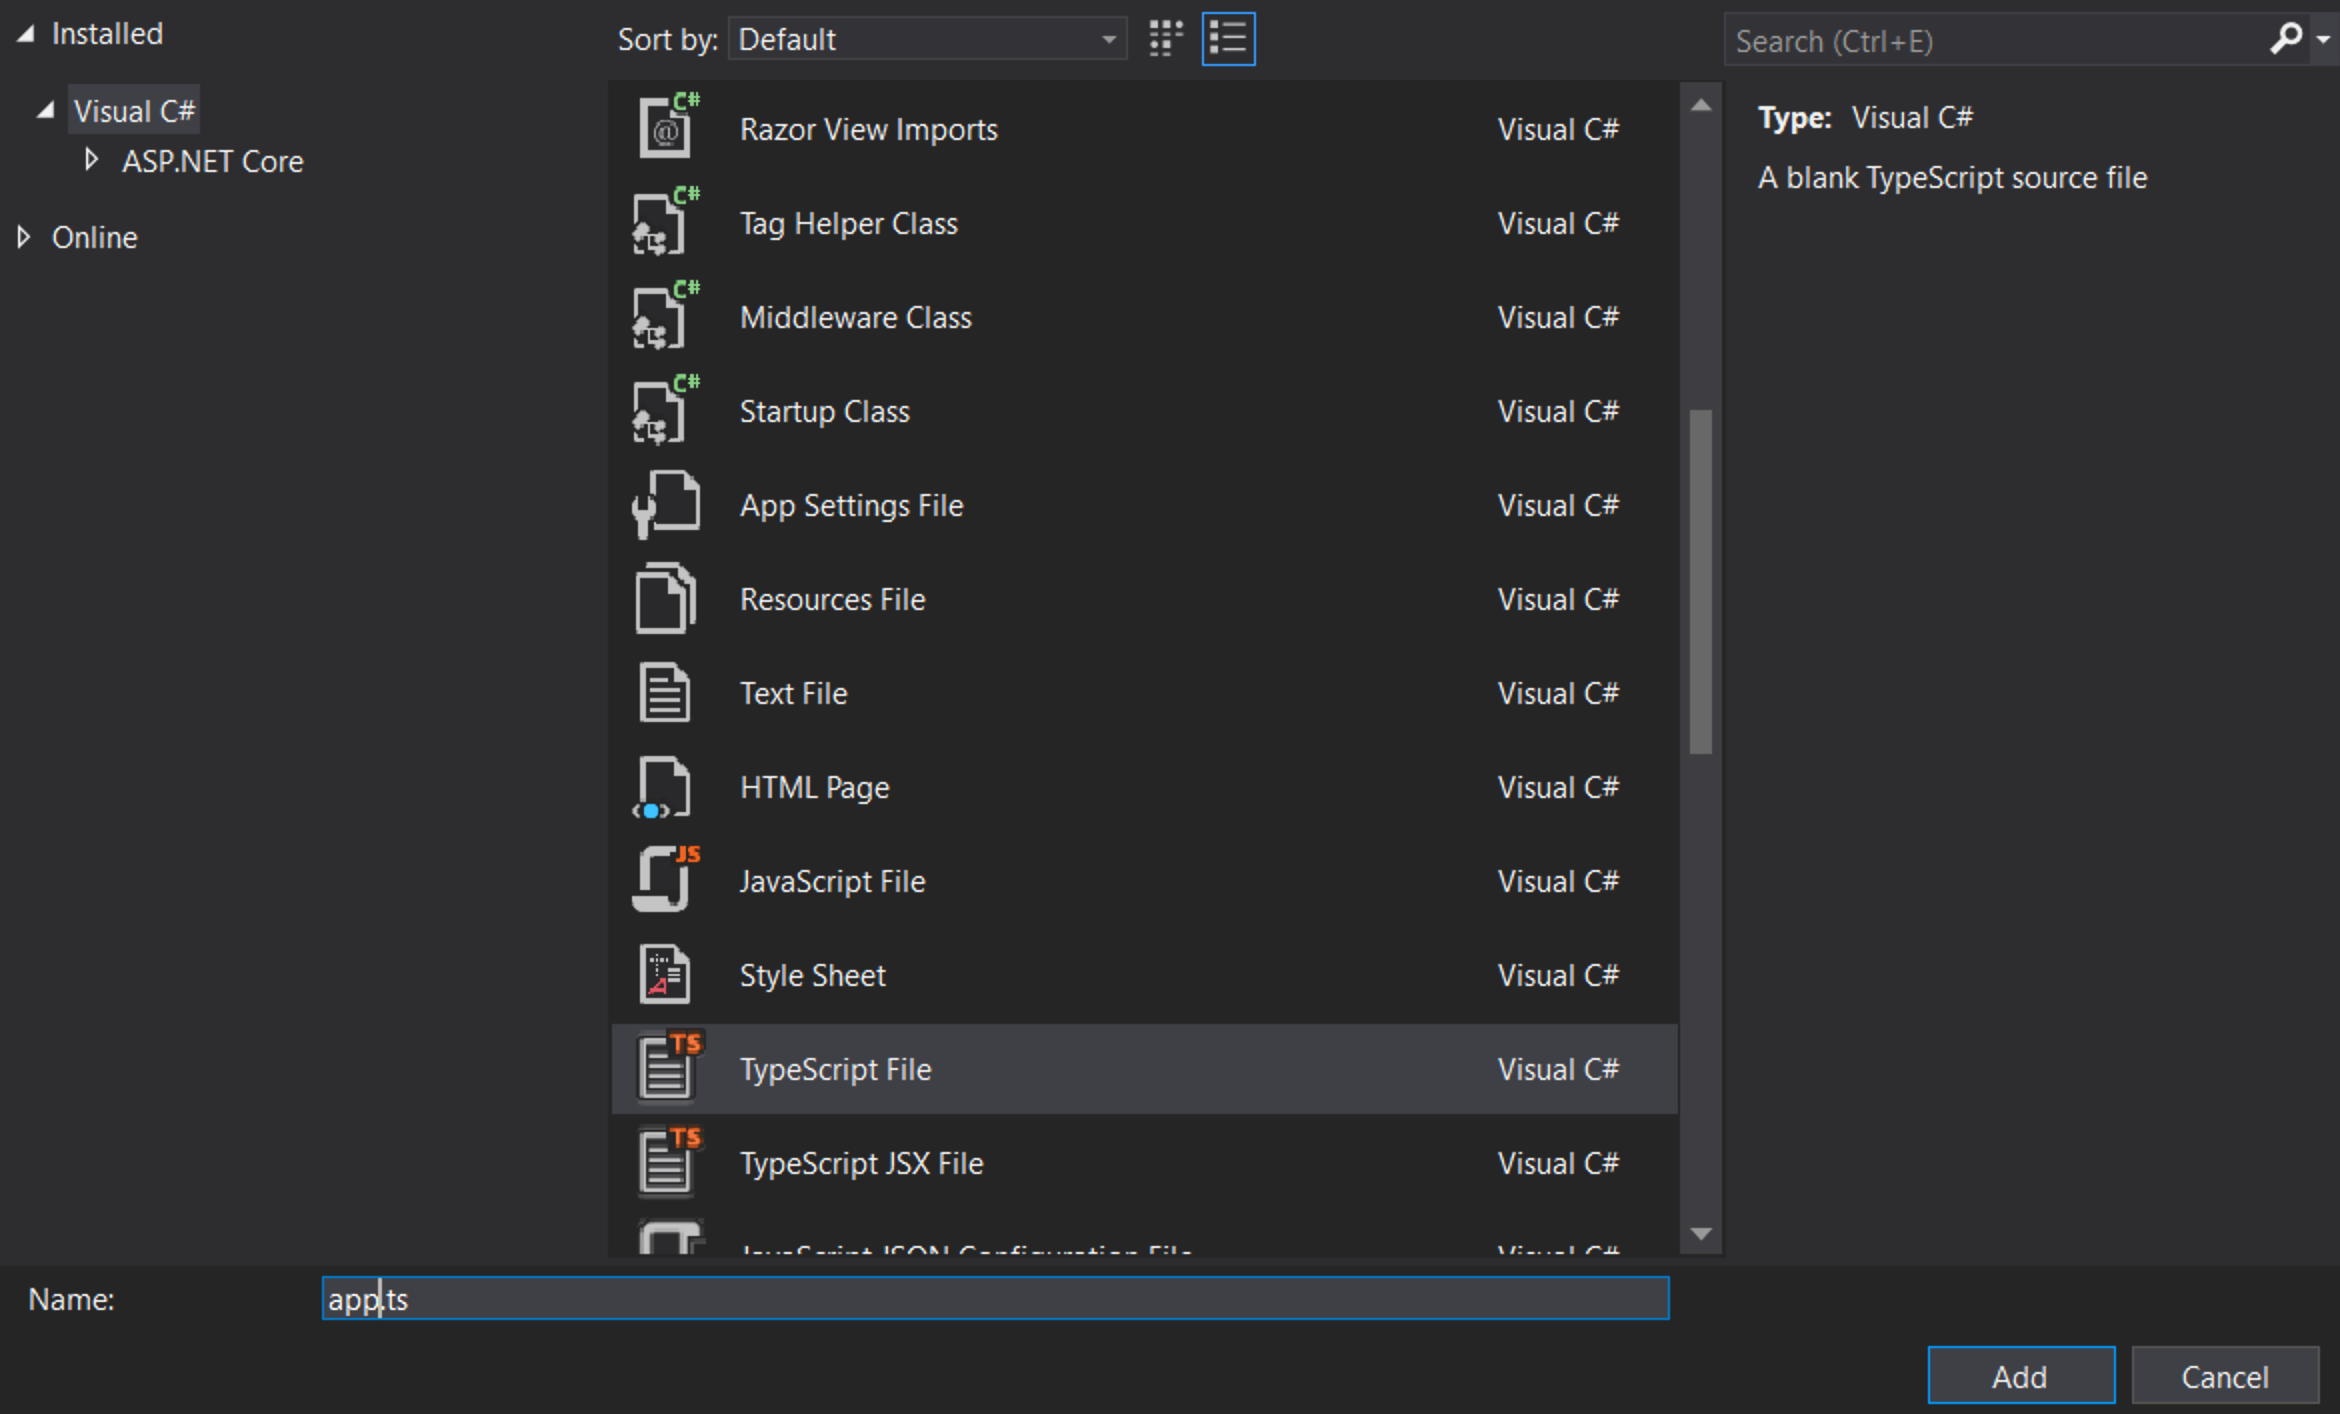
右键点击 scripts 并选择 新建项。然后选择 TypeScript 文件 并将文件命名为 app.ts
🌐 Right click on scripts and click New Item. Then choose TypeScript File and name the file app.ts
添加示例代码
🌐 Add example code
将以下代码添加到 app.ts 文件中。
🌐 Add the following code to the app.ts file.
ts
设置构建
🌐 Set up the build
配置 TypeScript 编译器
🌐 Configure the TypeScript compiler
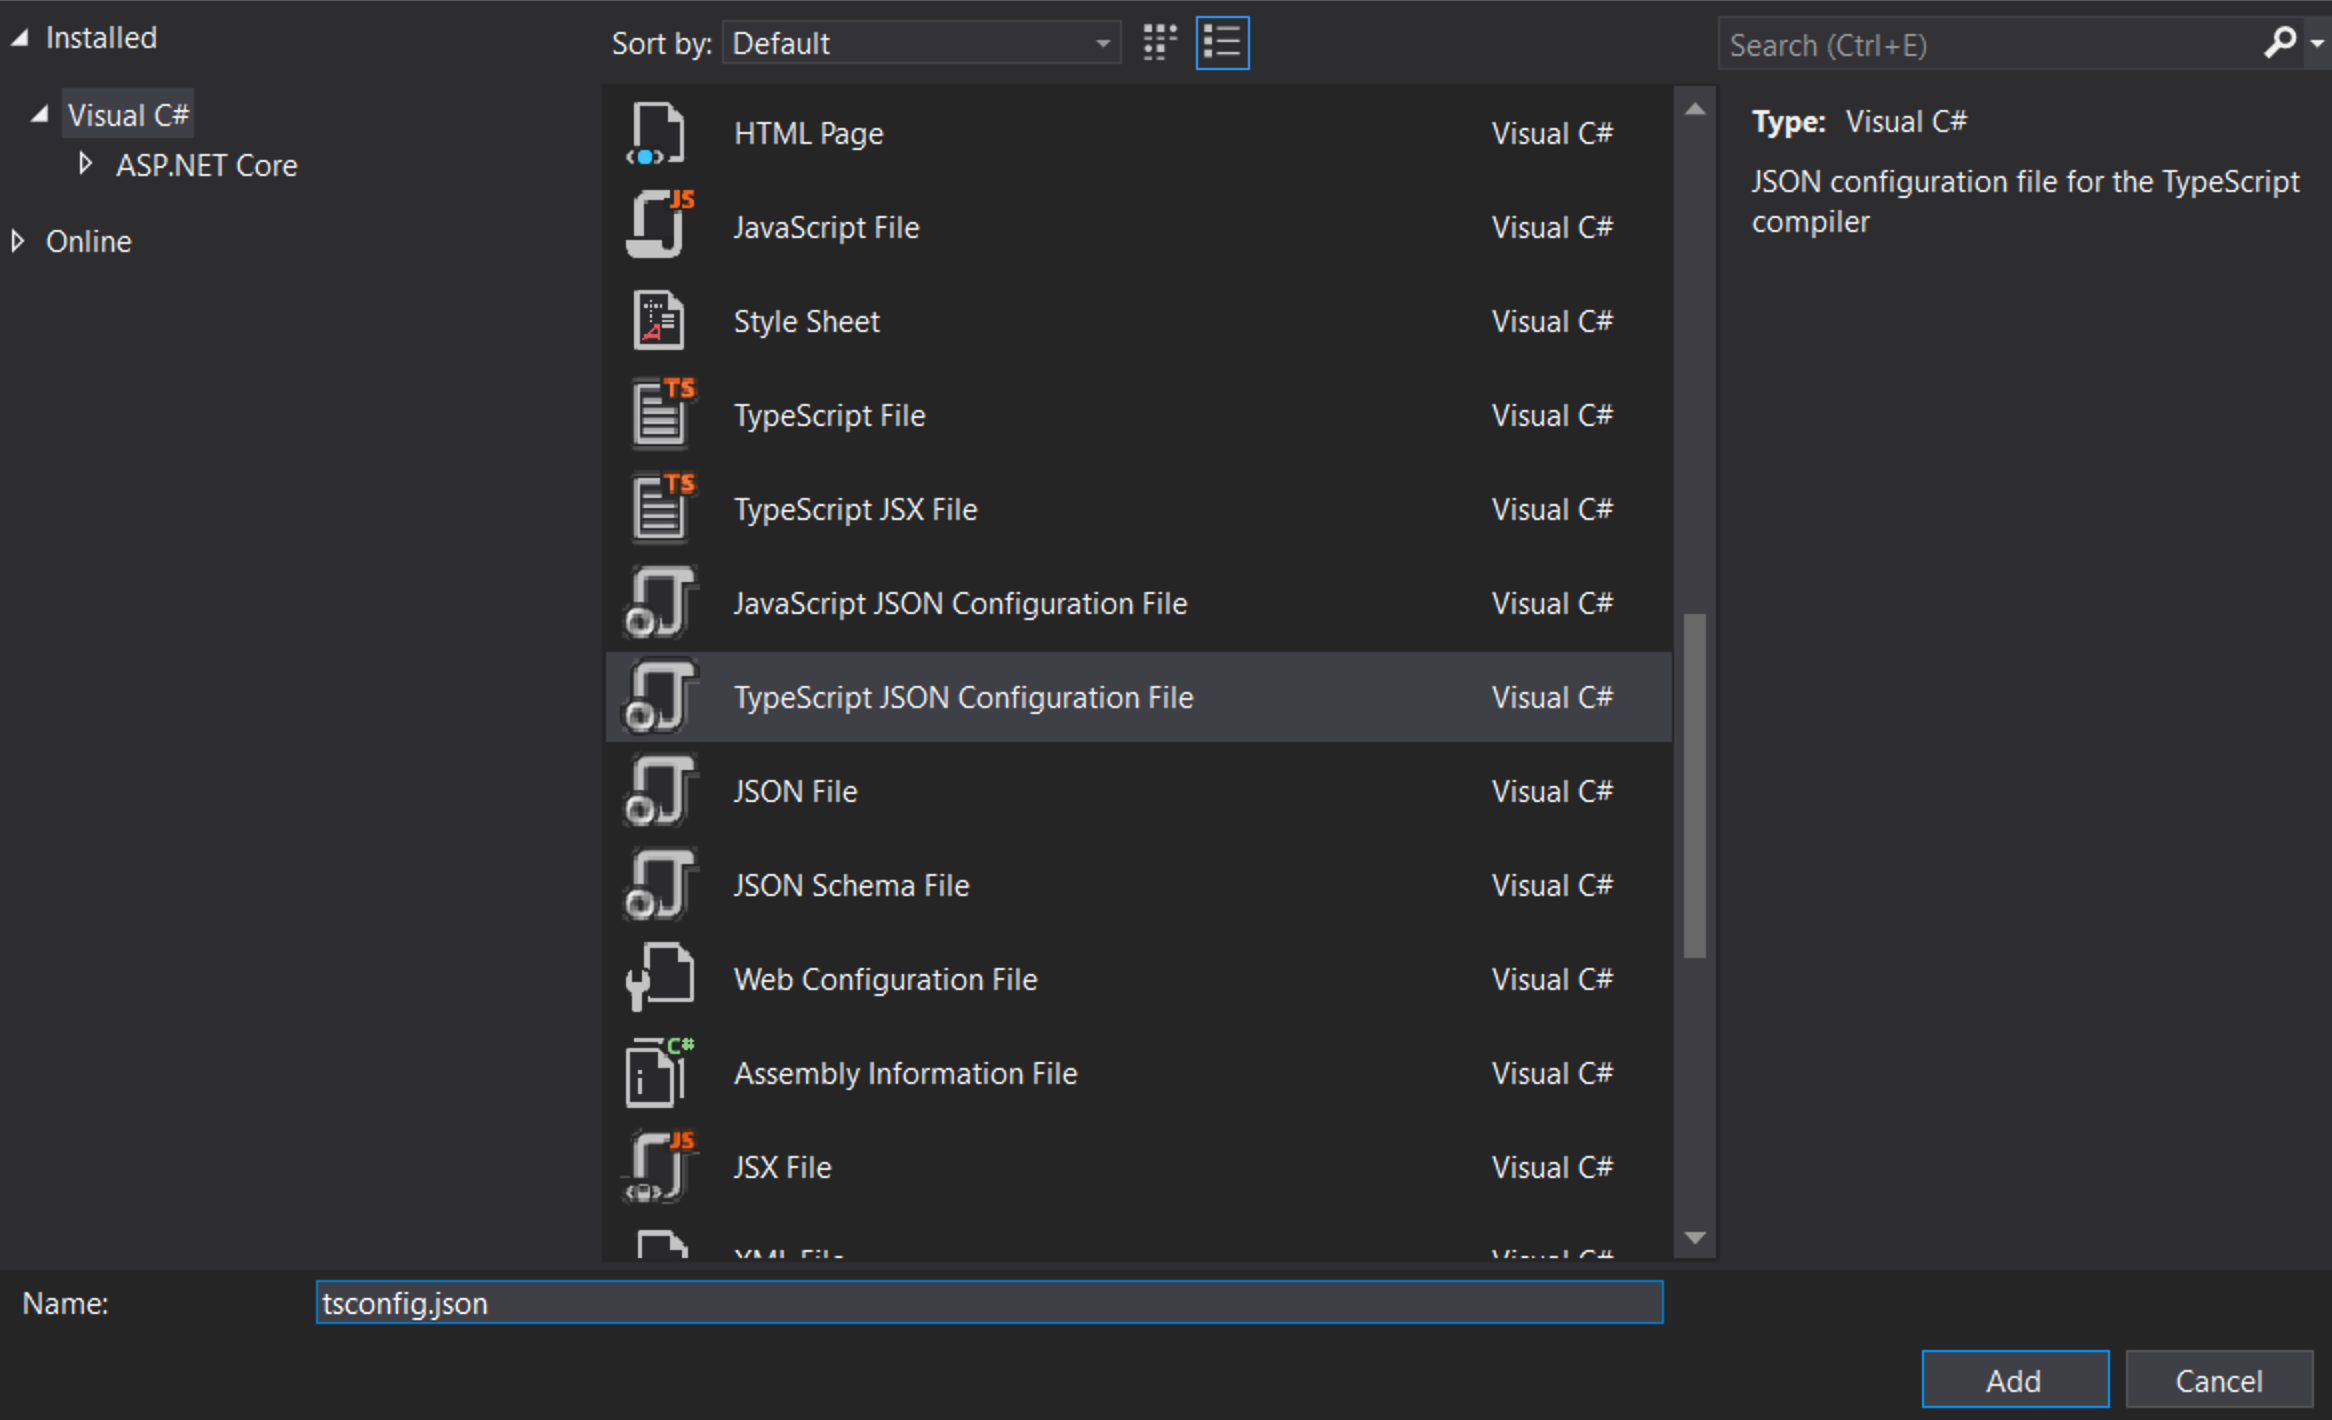
首先我们需要告诉 TypeScript 如何构建。右键点击 scripts 并选择 新建项。然后选择 TypeScript 配置文件 并使用默认名称 tsconfig.json
🌐 First we need to tell TypeScript how to build. Right click on scripts and click New Item. Then choose TypeScript Configuration File and use the default name of tsconfig.json
将 tsconfig.json 文件的内容替换为:
🌐 Replace the contents of the tsconfig.json file with:
noEmitOnError:如果报告了任何错误,则不要输出结果。noImplicitAny:对带有隐式any类型的表达式和声明引发错误。sourceMap:生成对应的.map文件。target:指定 ECMAScript 目标版本。
注意:"ESNext" 以最新支持版本为目标
🌐 Note: "ESNext" targets latest supported
[noImplicitAny](/tsconfig#noImplicitAny) 在编写新代码时是个好主意——你可以确保不会意外编写任何未类型化的代码。"compileOnSave" 能让你轻松地在运行中的网页应用中更新代码。
设置 NPM
🌐 Set up NPM
我们需要设置 NPM,以便可以下载 JavaScript 包。右键点击项目并选择 新建项。然后选择 NPM 配置文件,并使用默认名称 package.json。
🌐 We need to setup NPM so that JavaScript packages can be downloaded. Right click on the project and select New Item. Then choose NPM Configuration File and use the default name of package.json.

在 package.json 文件的 "devDependencies" 部分中,添加 gulp 和 del
🌐 Inside the "devDependencies" section of the package.json file, add gulp and del
保存文件后,Visual Studio 应该会开始安装 gulp 和 del。如果没有,请右键点击 package.json,然后选择“还原包”。
🌐 Visual Studio should start installing gulp and del as soon as you save the file. If not, right-click package.json and then Restore Packages.
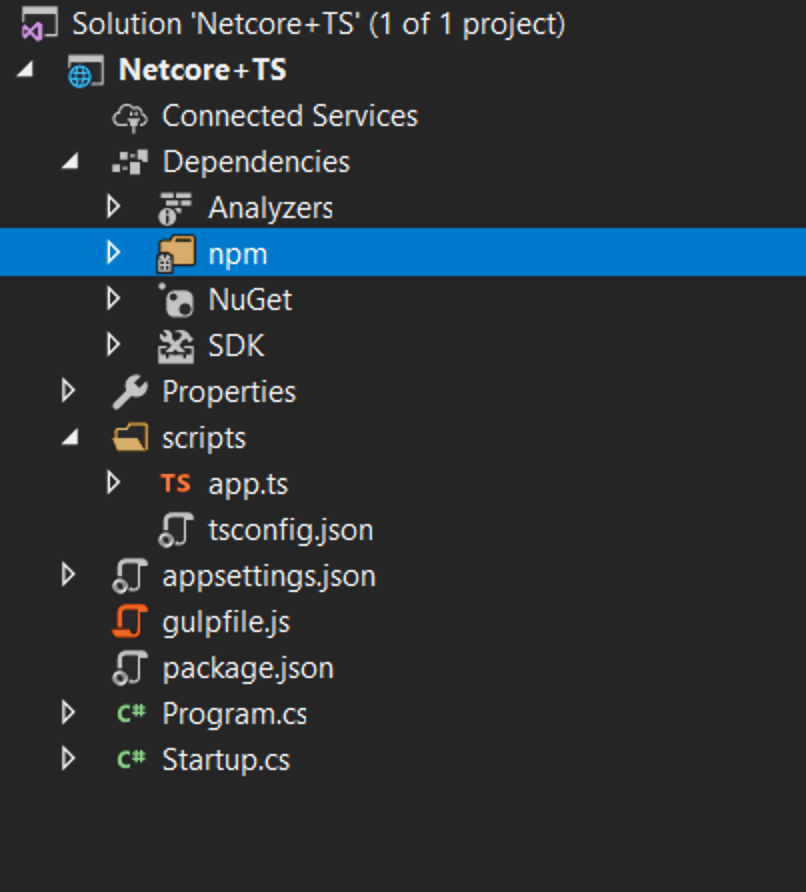
之后,你应该在解决方案资源管理器中看到一个 npm 文件夹
🌐 After you should see an npm folder in your solution explorer
设置 gulp
🌐 Set up gulp
右键点击项目,然后点击 新建项。接着选择 JavaScript 文件,并使用名称 gulpfile.js
🌐 Right click on the project and click New Item. Then choose JavaScript File and use the name of gulpfile.js
js
第一行告诉 Visual Studio 在构建完成后运行 ‘default’ 任务。当你要求 Visual Studio 清理构建时,它也会运行 ‘clean’ 任务。
🌐 The first line tells Visual Studio to run the task ‘default’ after the build finishes. It will also run the ‘clean’ task when you ask Visual Studio to clean the build.
现在右键点击 gulpfile.js,然后点击任务运行器资源管理器。
🌐 Now right-click on gulpfile.js and click Task Runner Explorer.

如果未显示“默认”和“清理”任务,请刷新资源管理器:
🌐 If ‘default’ and ‘clean’ tasks don’t show up, refresh the explorer:

编写 HTML 页面
🌐 Write a HTML page
右键点击 wwwroot 文件夹(如果看不到该文件夹,尝试先构建项目),然后在其中添加一个名为 index.html 的新项目。对于 index.html,使用以下代码
🌐 Right click on the wwwroot folder (if you don’t see the folder try building the project) and add a New Item named index.html inside. Use the following code for index.html
测试
🌐 Test
- 运行项目
- 当你在框上键入时,你应该会看到消息出现/更改!
调试
🌐 Debug
- 在 Edge 中,按 F12 并单击“调试器”选项卡。
- 查看第一个 localhost 文件夹,然后是 scripts/app.ts
- 用 return 在行上放置一个断点。
- 在框中键入并确认断点在 TypeScript 代码中命中并且检查工作正常。

恭喜你已经使用 TypeScript 前端构建了自己的 .NET Core 项目。
🌐 Congrats you’ve built your own .NET Core project with a TypeScript frontend.